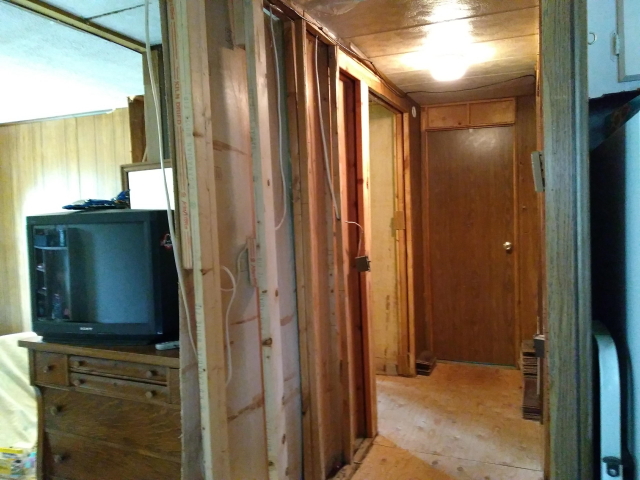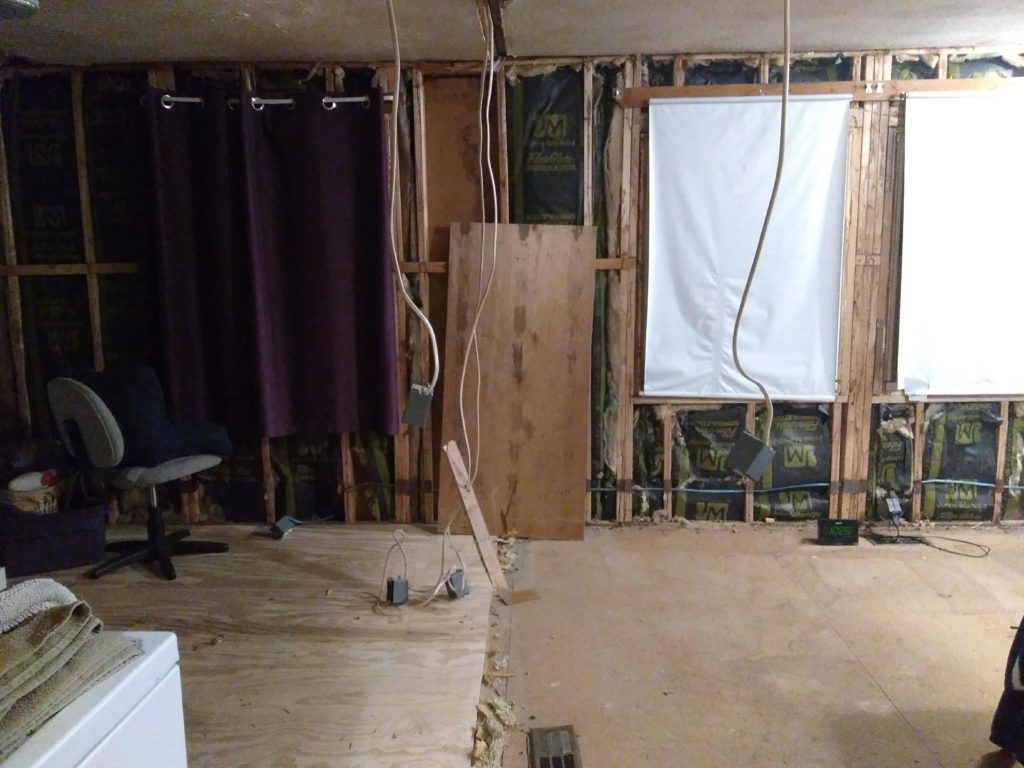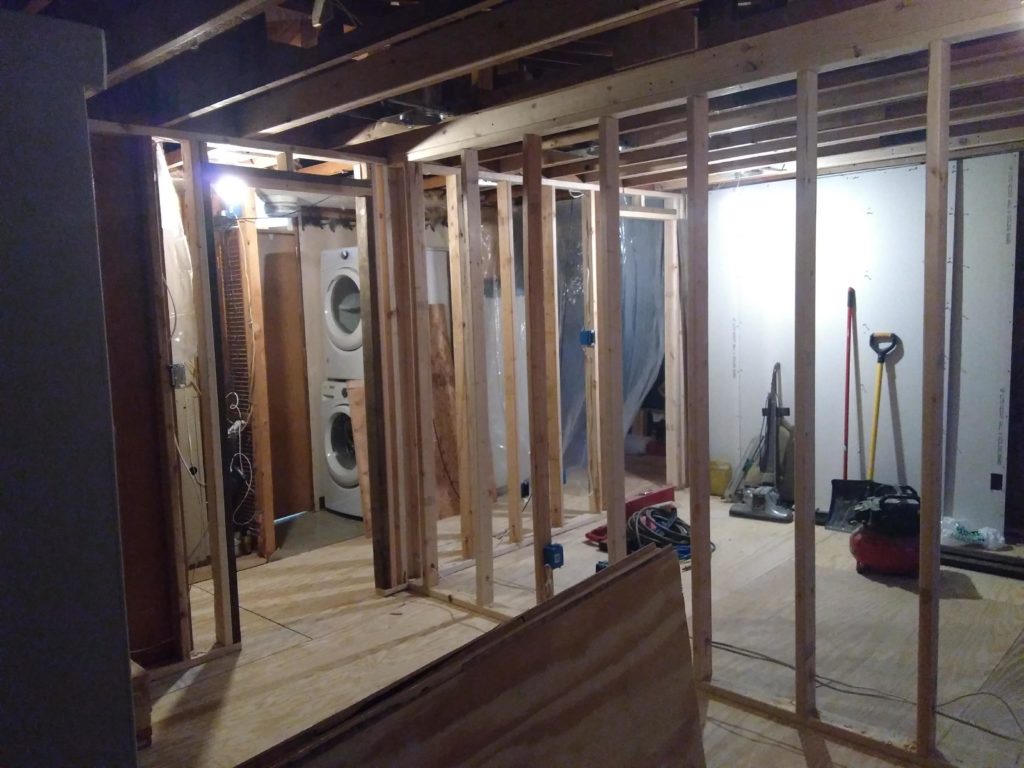
With the first two bedrooms gutted, we started the process of renovating them. First, we installed new wiring and recessed lighting cans. After the county inspector gave the electrical work the green light (which is easy to get when you do it right), we added modern insulation for both the ceiling and walls. Finally, we hung the plastic that holds the ceiling insulation in place. One thing I forgot to mention in part 1 is that my husband also goes through the process of strengthening all the ceiling joists. It’s a lot of work, but lifts and reinforces a previously sagging ceiling.
Ceiling drywall goes up next! That’s exciting, because it signals the next phase of the renovation – turning what looks like a construction site into an actual room.
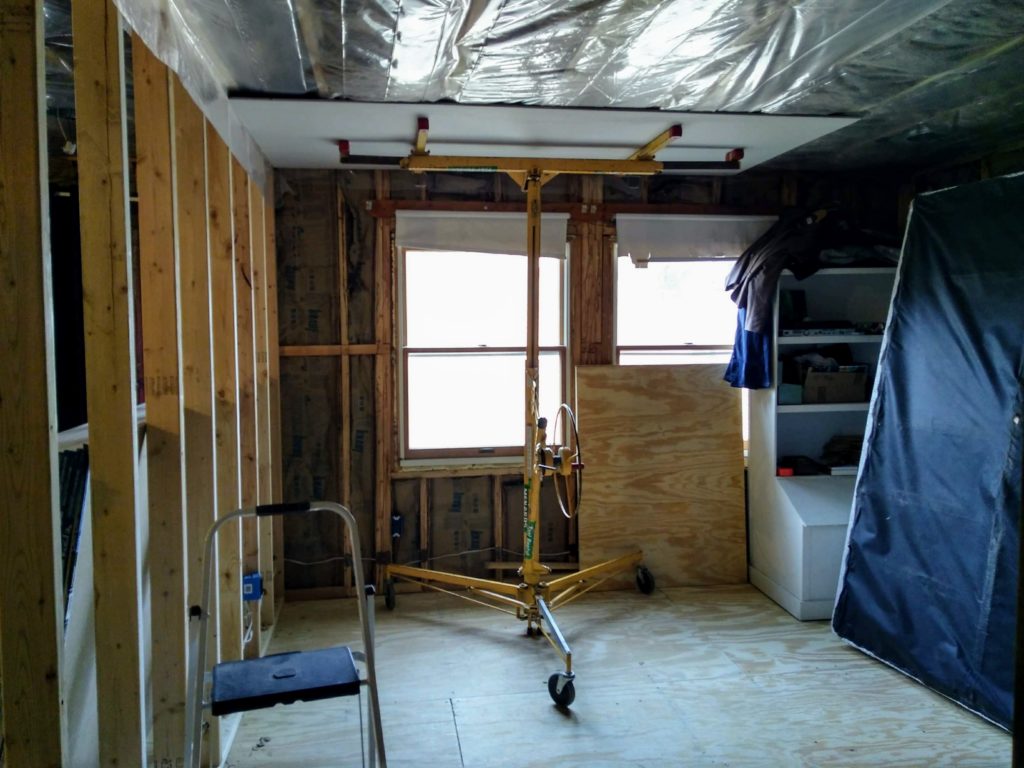
Covering the insulation is one of my favorite moments of this entire process. It takes a few days to get all the drywall up on the ceiling and wall studs. Once it’s on there, we get into the process of taping, mudding and sanding. This is where the excitement fades, because drywall dust is insidious stuff. It gets everywhere and it never seems to end!
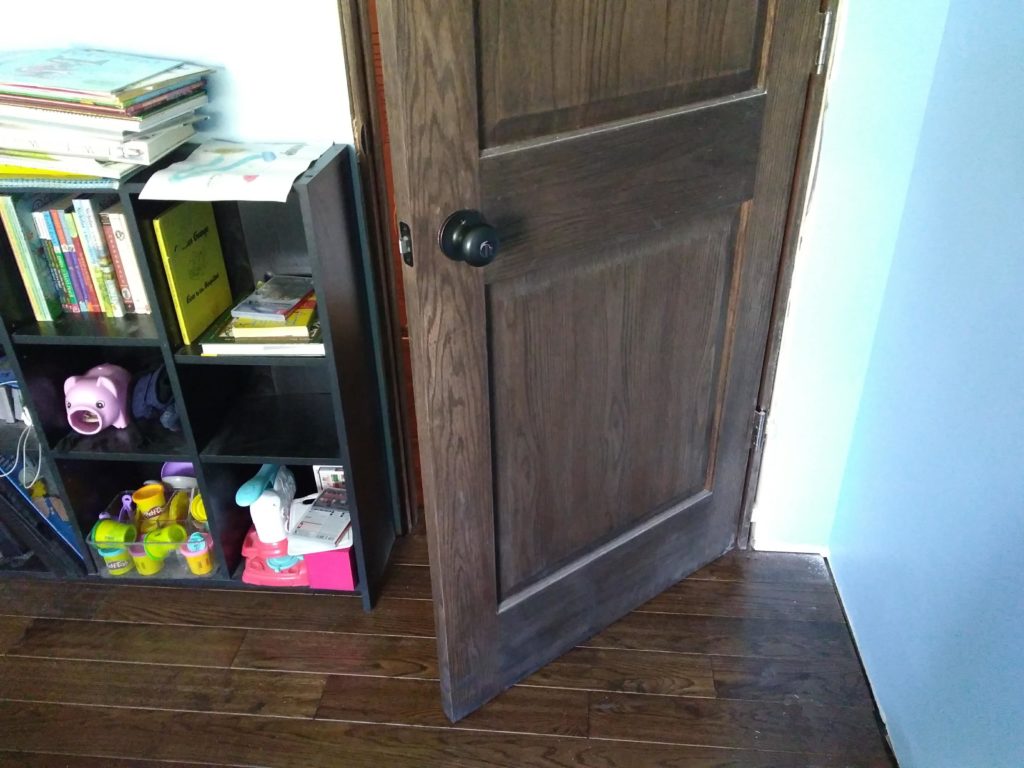
When that messy part was done, we installed new doors on each bedroom. The old layout had the doors facing each other. Those doors were as thin as the walls. You could easily put a fist through them.
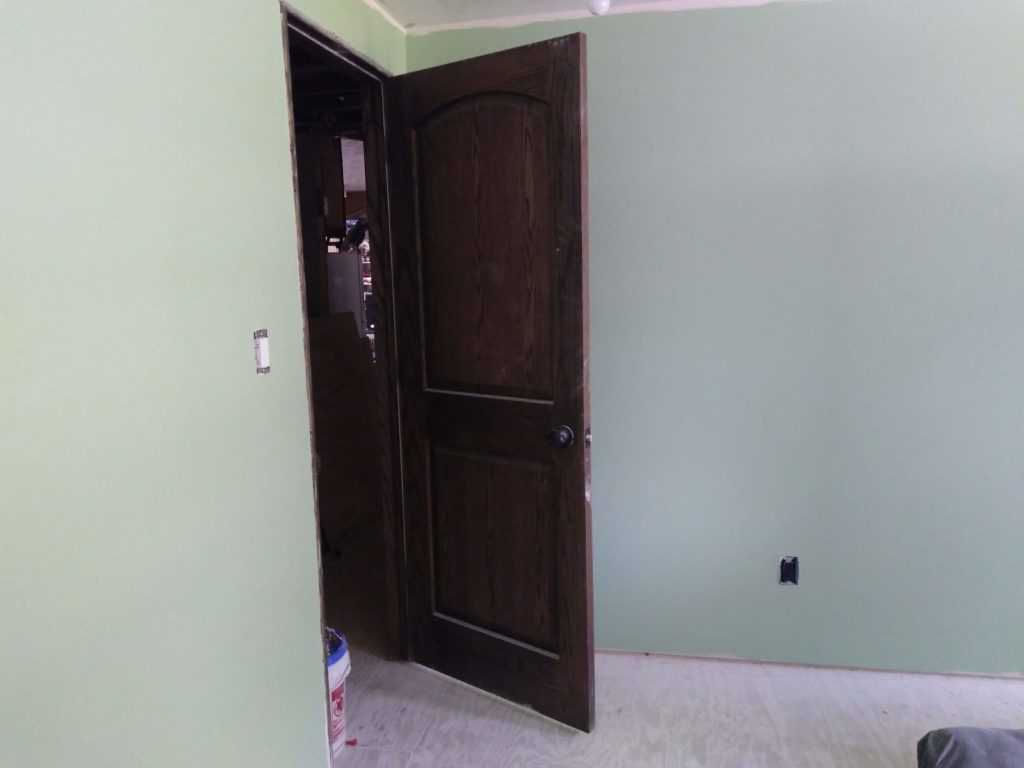
We replaced the hollow core doors with solid core oak doors and stained them dark. Hanging the doors was a frustrating process, but once it was done, we were ready to paint! Our room got a pale green color called “Lime Taffy.” Paired with the door and dark brown curtains, it looks like a bowl of mint chocolate chip ice cream.
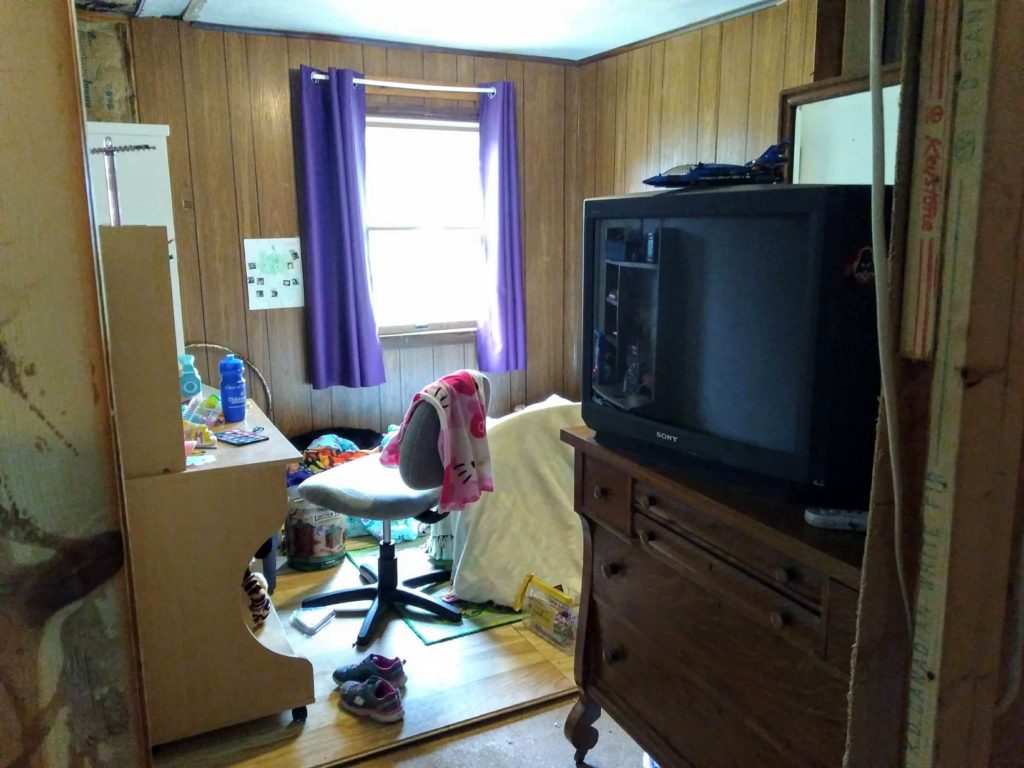
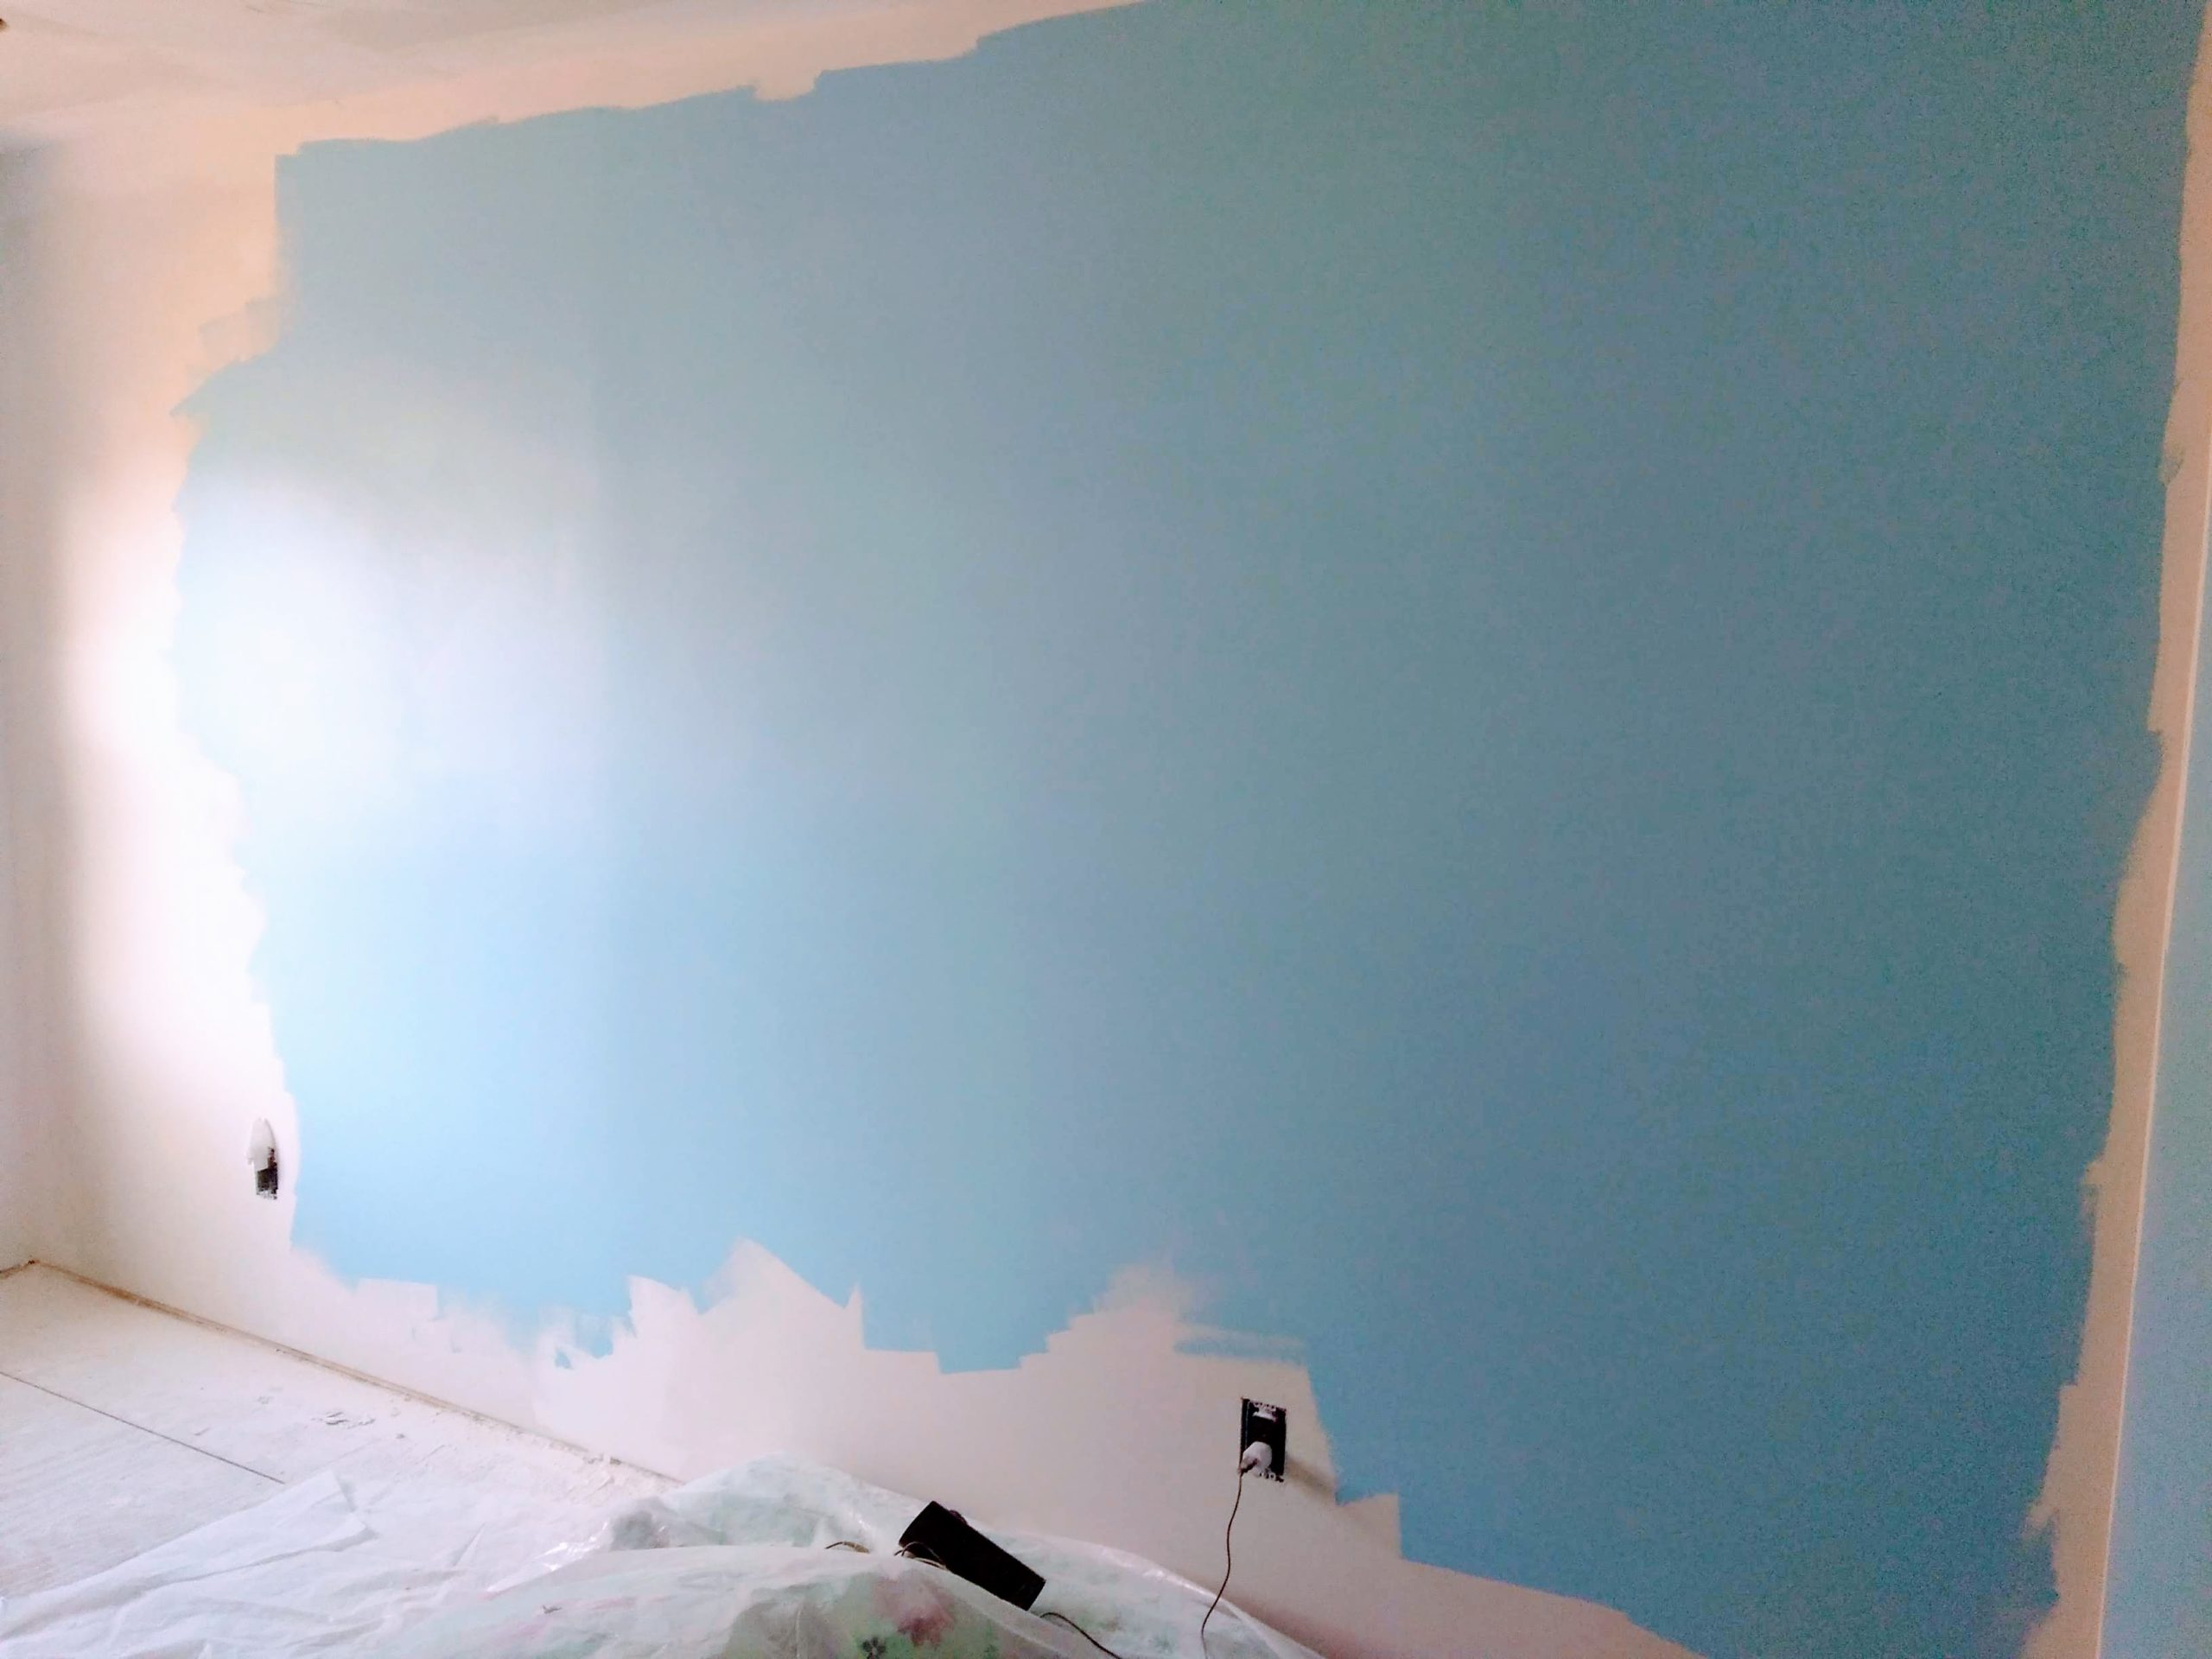
Our daughter’s room got a sky blue called “Windsor Way” at her request. The original picture makes it look a little more Robin’s egg, but it’s much softer and less green than the lighting appears to show.
Once the rooms were painted, it was time for flooring. This was an adventure. The flooring we chose for our living room – “Smokey Topaz” made by Great Lakes Wood Floors – was discontinued. Our local Menards didn’t have any and they don’t place orders to for inventory from other stores. We looked at our options and decided to buy out all 26 boxes available at the nearest store… in Sioux Falls, South Dakota.
This took into consideration the leftover flooring we had in our home from doing our living room, the need for 20 boxes to do both bedrooms and the hall, plus the eventual need for more flooring to do the third bedroom.
Neither of us was excited about the idea of a 7-hour round trip to haul a truck full of flooring, but that’s what we did. It turned out to be the best decision for a number of reasons, both practical and personal. After a triumphant road trip, we let the flooring sit in the house for a few days to acclimate and then it was time to install it.
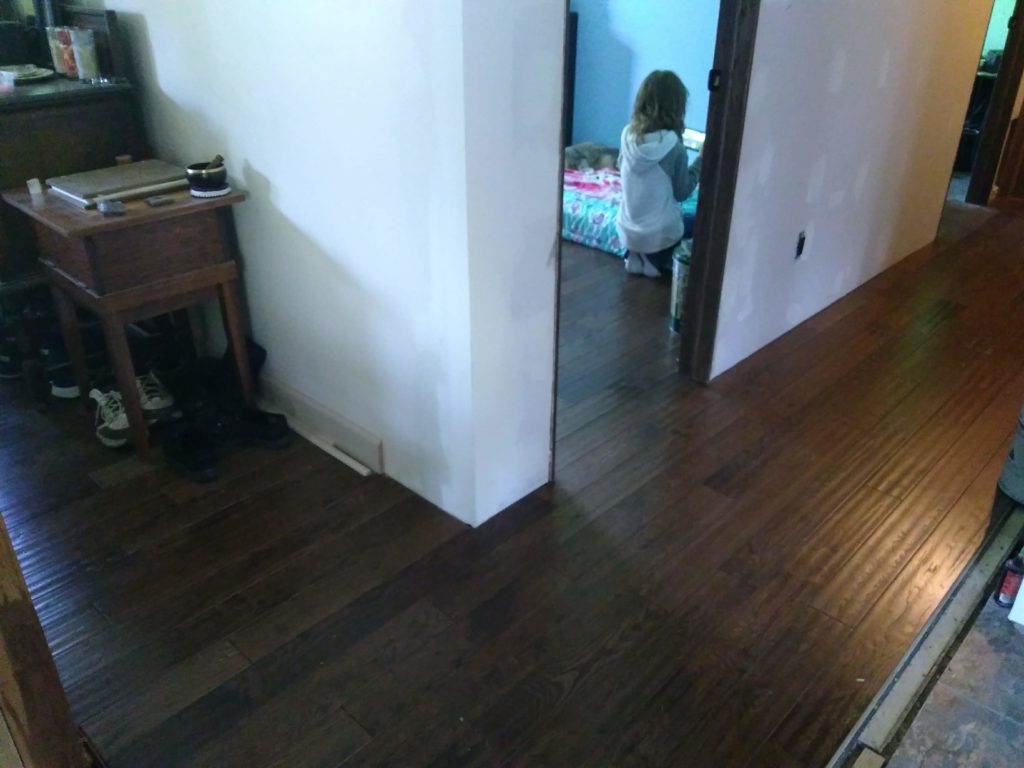
Once we completed the hall and first two bedrooms, and went into the third bedroom, we found we had enough to complete that one, as well. We aren’t doing the third bedroom yet, but it’s good to know we have enough flooring to finish the house.
The discontinued flooring led to the question of what we would do with the dining room floors. That was easy to determine. The dining room will get the same flooring as the kitchen, whatever we choose. That flooring will also go into the addition, since it will function as a partial mudroom and laundry room.
With the flooring in place, we had paint touch-ups, trim, outlet and switchplate covers, and other random bits to do! We also replaced the in-floor heating/cooling vents with the ones that go against the wall, instead. First of all, it looks nicer. Second, it’s more practical. We’re less likely to drop small things, like tiny Legos, down an angled vent than a floor one! The finishing bits should be done by the end of May and we are so glad this part of the renovation is nearly complete.
Besides final photos to come, what’s next? We have to wait about 3 years for the next phase in our renovation process, because it’s the addition. We need to save money. We don’t want to start the addition and do it in pieces. Leaving it uncovered (no roof, no housewrap, etc.) and open to the elements is an awful idea.
The addition will replace the back deck. It will include a storm cellar, since we don’t have a basement. The room will function as my office, as well as have a separate laundry room and mudroom/entry. I’m excited about this, because we will also update the exterior of the house in this phase.
Our house only has studs, a layer of old siding, and a layer of new siding on top. No plywood and no housewrap between the studs and siding! Fixing that and replacing the grungy white siding with the wheat color used on the workshop is going to be fun. I love installing siding. It’s like putting together a puzzle. Modernizing the exterior with plywood and housewrap will also make the house that much more energy efficient.
After that, we’re left with the most expensive parts to tackle: the bathroom and third bedroom at the same time, which includes the water heater and furnace, and then the kitchen and dining room. Moving the washer and dryer from the bathroom into their own dedicated laundry space will allow us to enlarge the bathroom, while the kitchen will get a complete overhaul with added cabinets, an island, and a breakfast bar.
With the cost of doing the other half of the house, we should be done… oh, in another 20 years or so. >.< But at least we’ll have a house we like and it will be much more attractive and modern, and easier to sell someday!